I’d decided to retrace my steps to the city centre, but where my route took me onto a footbridge across the canal, I noticed that the continuation of the towpath led into a short tunnel, and I wondered to where it might lead. (This is what I identified as the start of the Ashton Canal in Canal Knowledge.) I proceeded to follow the canal for several kilometres, during which I photographed a few isolated graffiti. These are the best:


It isn’t often that you see graffiti on surfaces this rough.


Wow! One I can actually read, although it doesn’t make any sense.
Eventually, I came to a location next to a lock with graffiti on both sides of the canal. The remainder of the photographs in this collection were taken here. Unfortunately, many of the graffiti are partially obscured by vegetation, which probably wasn’t there when they were painted.

The second of these graffiti is stylistically similar to the third graffito in this collection (above).
It may look as though I’ve chopped off half a letter on the right-hand end of the next image, but if you compare this with the following photo, you will see that they are separate graffiti:

The mottled shade from trees behind the wall irrevocably alters the tonal balance of the second graffito.
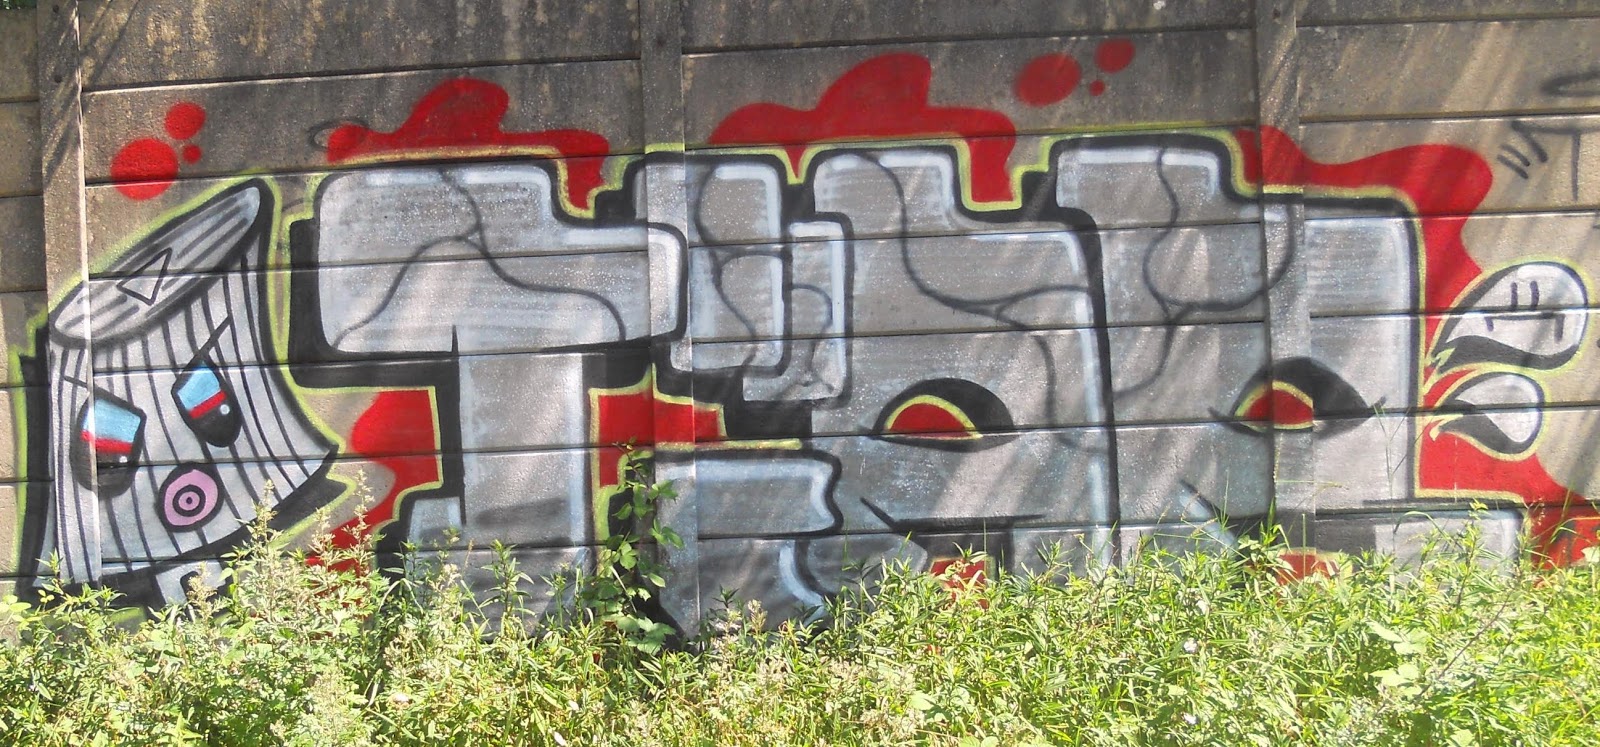
Grey seems to be a popular colour hereabouts, although the second graffito does have a few splashes of other colours:


And this is probably the most colourful graffito on display here:

More grey, and only straight lines. No curves:

The next graffito is the most complex in this collection. It was only possible to capture it in its entirety from the opposite bank of the canal:

Notice the blue face on the left. I saw several examples of this image around Manchester, and I’ve included it here because it may be associated with the main graffito.
The remaining graffiti were located on a wall on the other side of the canal, starting with this one, which I assume was painted by Leon:

You may think that the top has been chopped off the photograph, but that is actually the top of the wall! The same effect can be seen in several other photos.
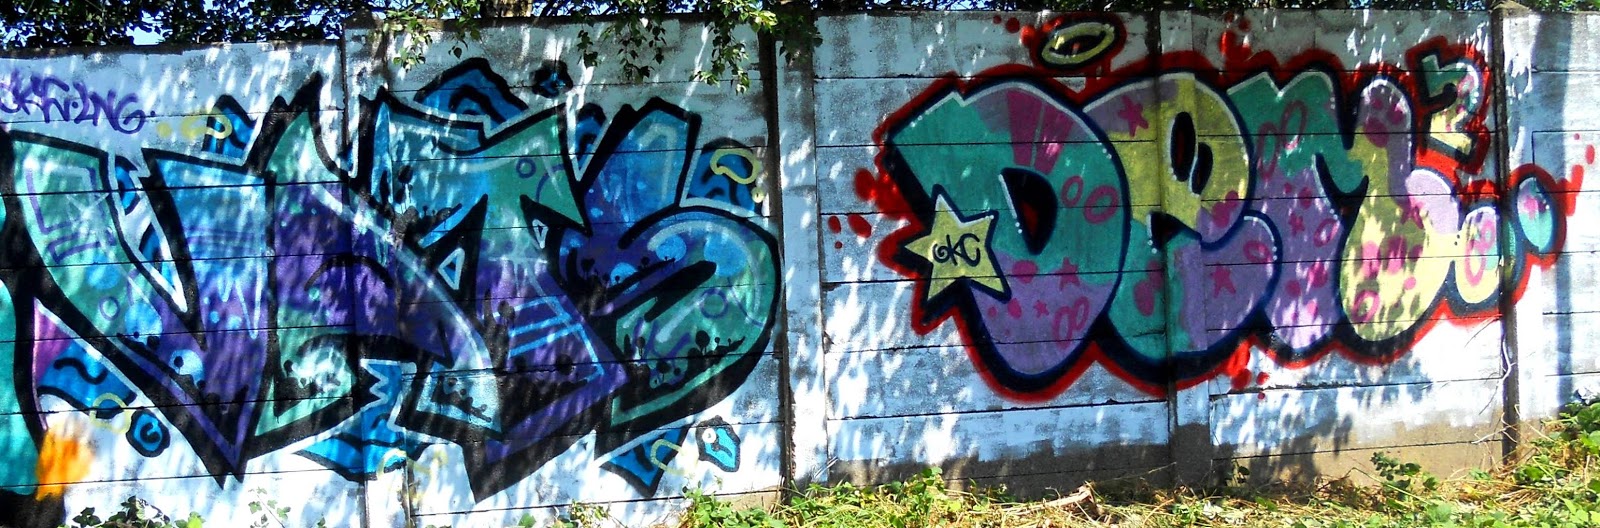
Although the two graffiti in the next photograph are stylistically different, the colours are very similar, suggesting that both were painted by the same artist.

I wonder whether the black shapes in the right-hand graffito in the next photo are meant to represent whales and sharks:

The next two graffiti are clearly by the same artist. Not only are there stylistic similarities, the colours used are identical:


The next graffito would probably have been quite vivid when first painted, but my guess is that this has been here quite a while, because the paint is flaking off.

…while this one appears to have faded quite a lot:

The final image is darker than it should be because of the angle of the sun:

So, although I couldn’t find the location of Lost Horizon again, I could find some consolation in the locations featured in this and the previous post.


The presence of the graffiti makes the walk along the quiet canal more interesting ;-)
ReplyDeleteThe walk along the Ashton Canal is interesting anyway, but I know what you mean.
Delete